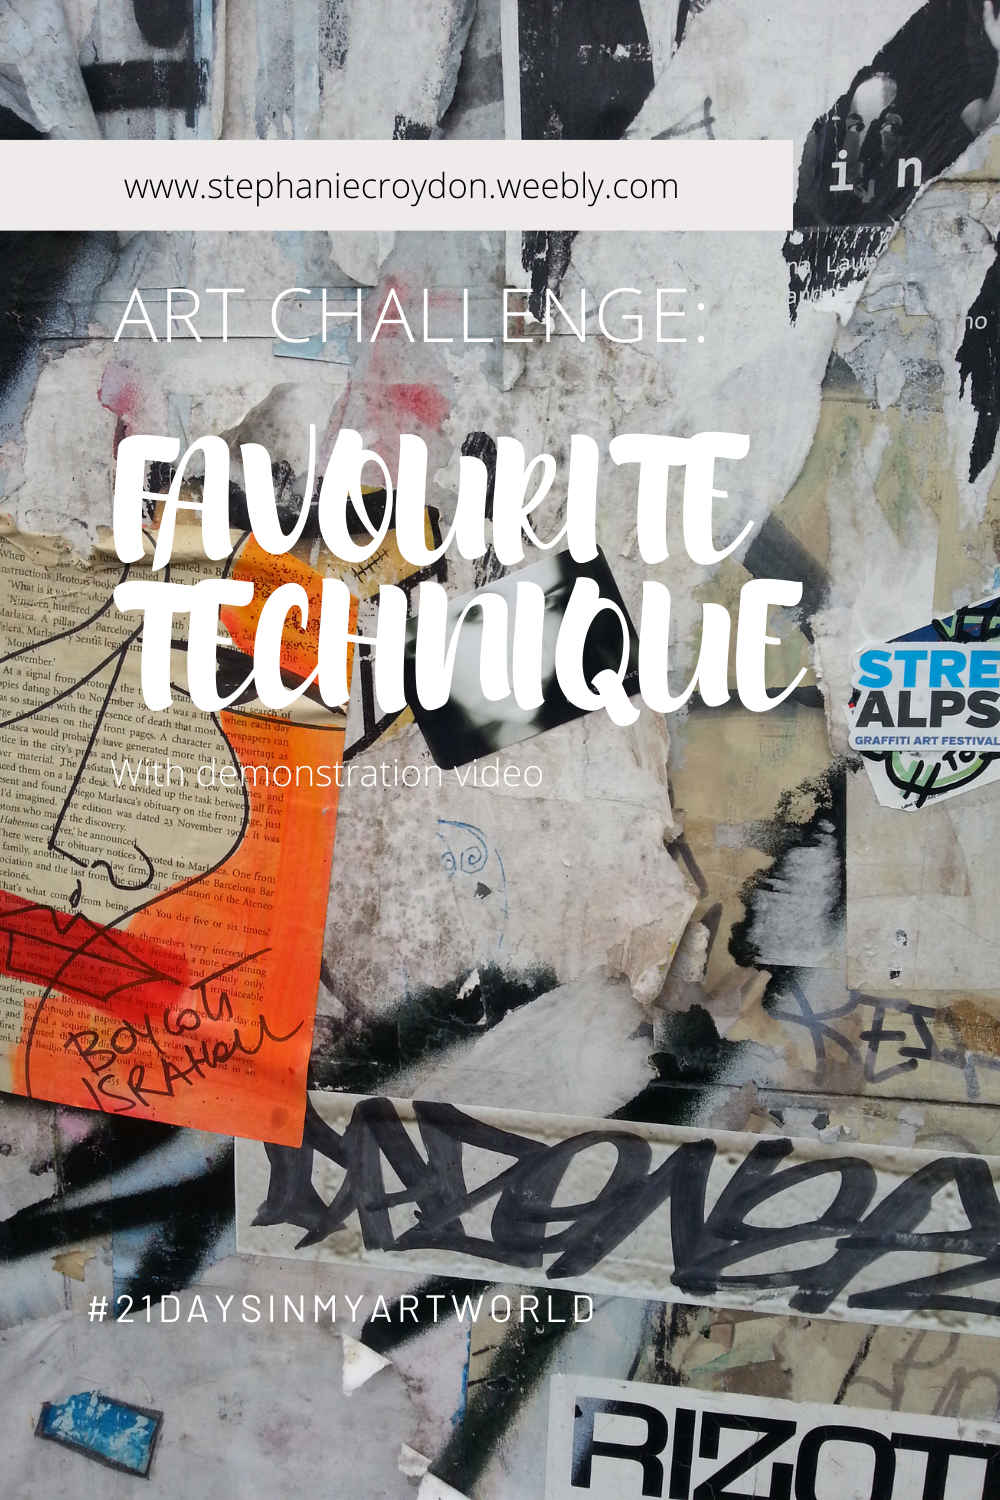
 I have made a short (and fairly wobbly) video about my favourite art technique for the last post of #21daysinmyartworld challenge. The video is available to watch on my new Youtube channel and will be added to my Instagram page. This video will show you how to quickly make simple backgrounds to use in your paintings and mixed media work. My favourite technique is scraping paint over paper in your sketchbook or scraps of paper, leaving some of the surface exposed and keeping some areas of paint thick for texture. The paint acts as a resist. When the paint has dried, I rub over the surface with charcoal or another colour of paint in a thin layer, if using charcoal fix it with hairspray.
Why is this my favourite technique?
0 Comments
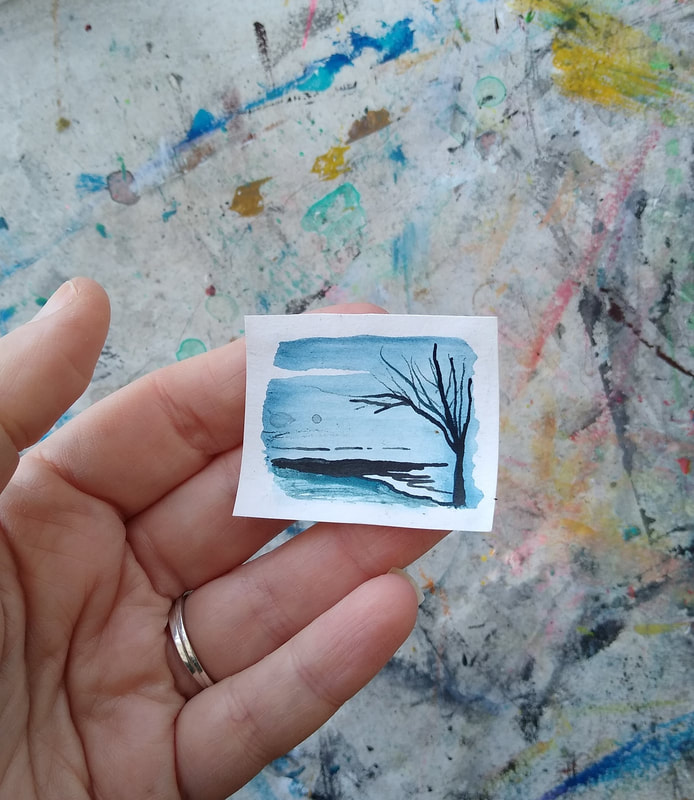
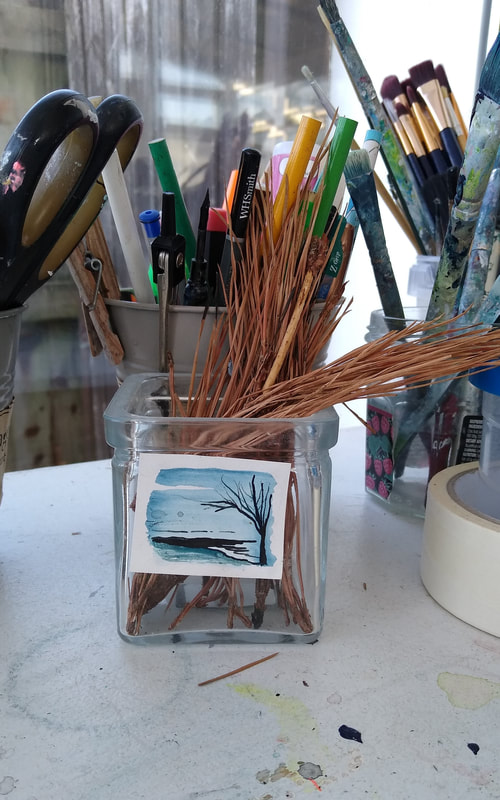
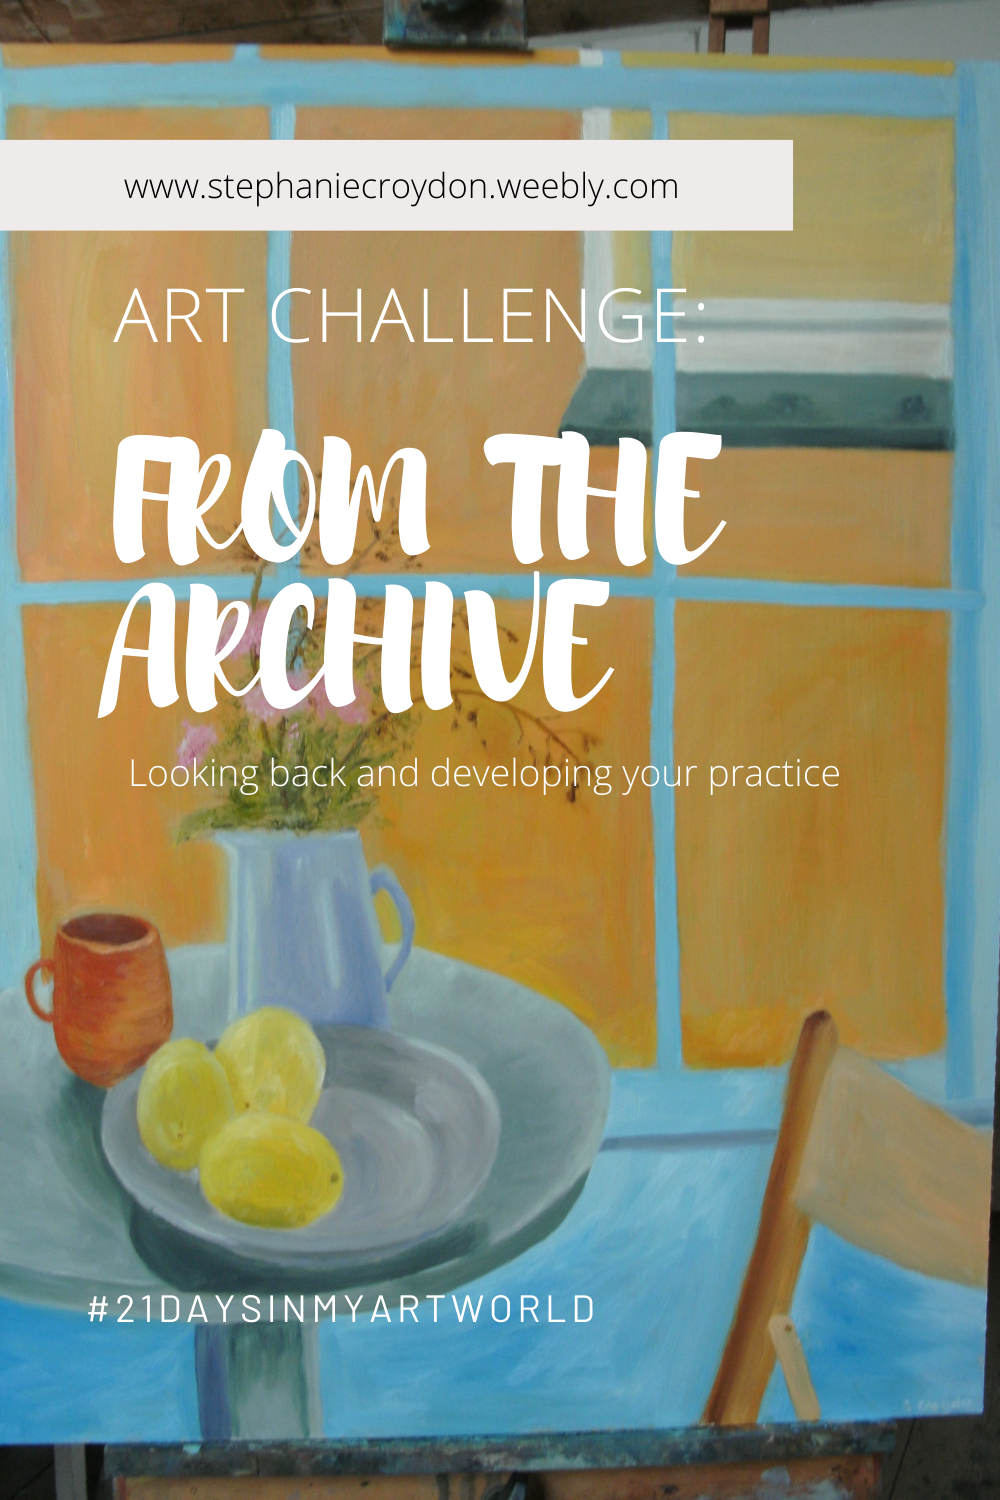 What a coincidence, I have been looking through all my old documents, studio pieces and photographs as this topic spings up. I found that looking back at my old work made me cringe. Fragments of university work here and there made no sense out of context and a few old commission pieces. Pieces that I thought were my best work at the time. However, I didn't delete everything or throw it all away, I kept some of the relevant work even if they were just made to fulfil a module and never came to fruition. 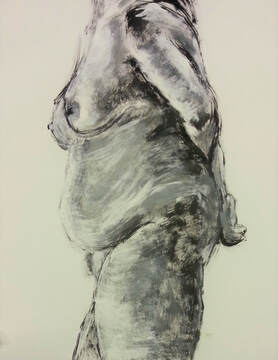 Life drawing at college The positive aspect of looking back through an archive is to see how far you have come. Skills may have progressed over time; you may have picked up some new skills or gone in a different direction taking your practice to new levels. 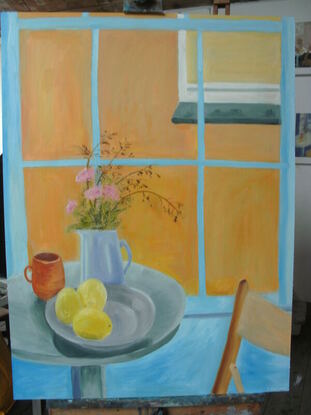 Still life oil painting, Inside Outside course, St Ives School of Painting There is nothing wrong with going on further art courses after college or university, even if you consider yourself a professional. There may be something new to try to benefit or build on your own practice. Its good to try out some new skills to keep your practice fresh. During university, I did two oil painting courses and after graduating completed a year-long mentorship program which helped me to look differently and build a body of work in a new way. Different teachers bring different experiences to the table and I still look back at the work produced then to inform my work now.  One of my old studio spaces in a spare bedroom 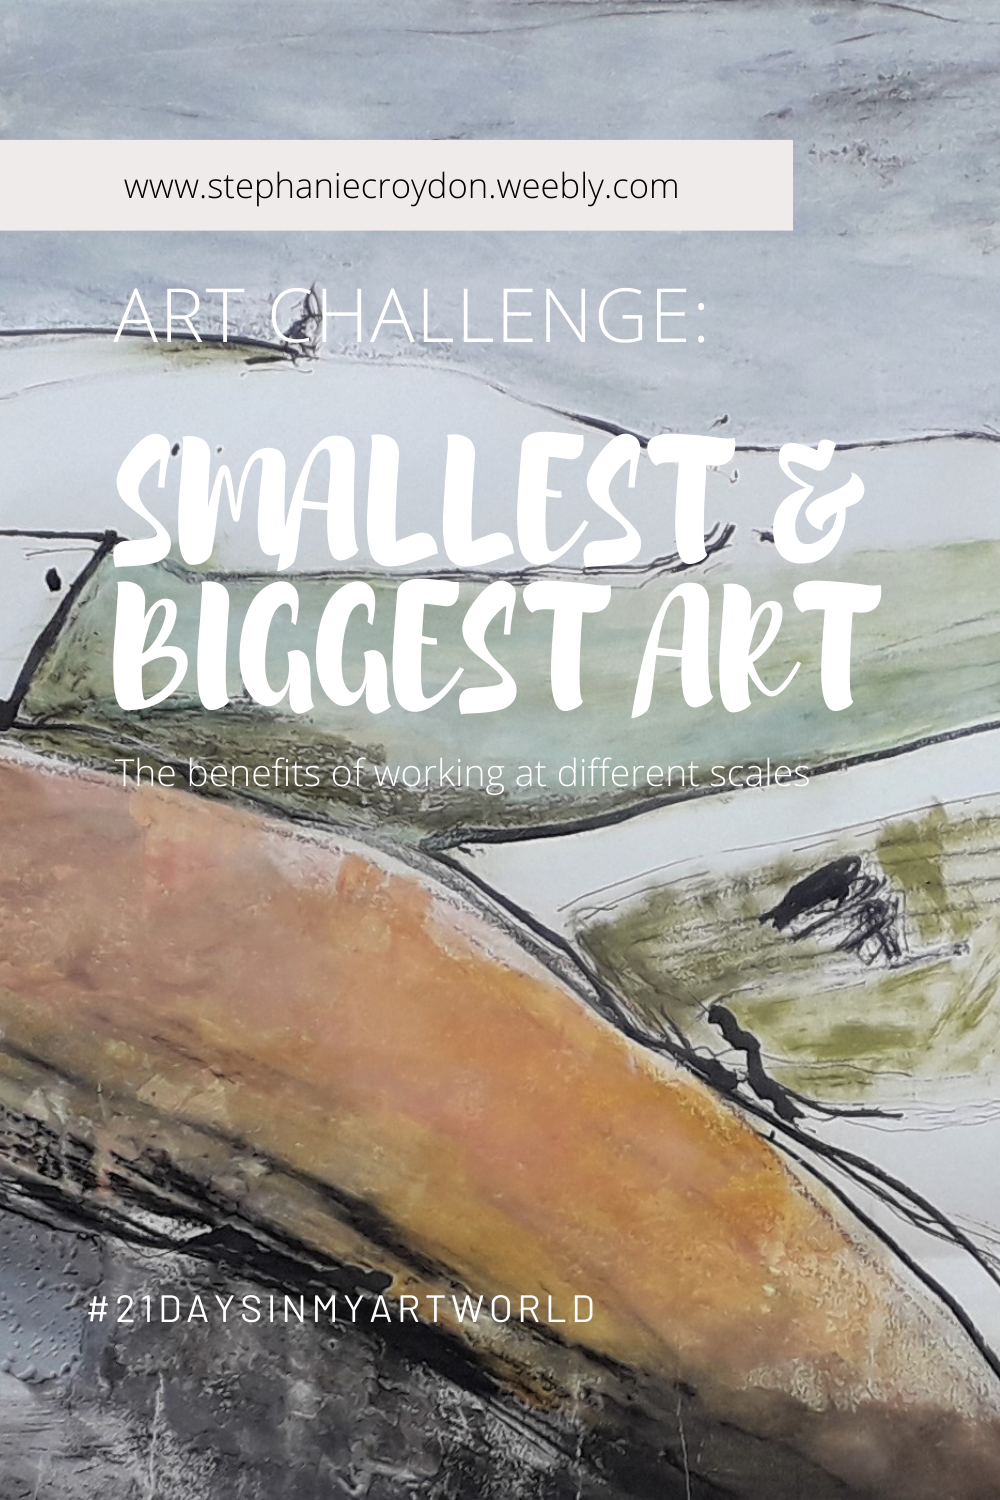 I'm coming towards the end of this art challenge this week and I have decided to roll two of the topics into one; smallest painting and largest painting. My smallest painting is one of several I made in my Krowji studio. I was experimenting with tiny ink landscapes. I framed them with cut out text from a book to give them a narrative. I wrote about them in my last blog post 'How I Name My Paintings'. This particular piece I never named or framed, it has been hanging around the studio for a few years now.
The benefits of painting this small are:
My current largest pieces I made whilst under a mentorship program. All the art from this collection I collectively called Out West, the three largest are almost 60 inches wide. 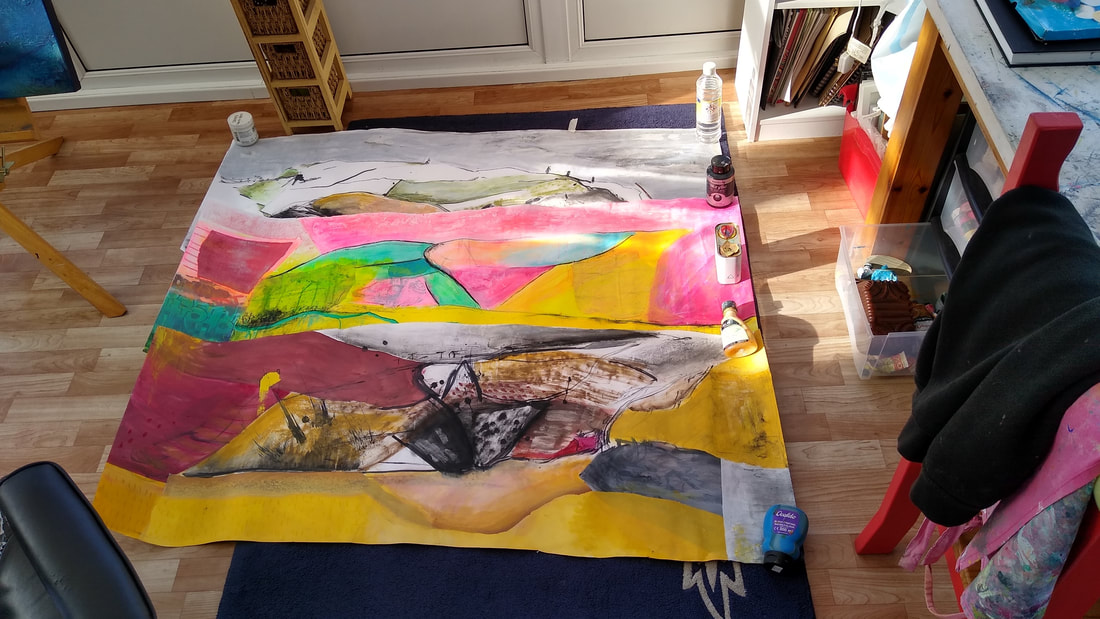 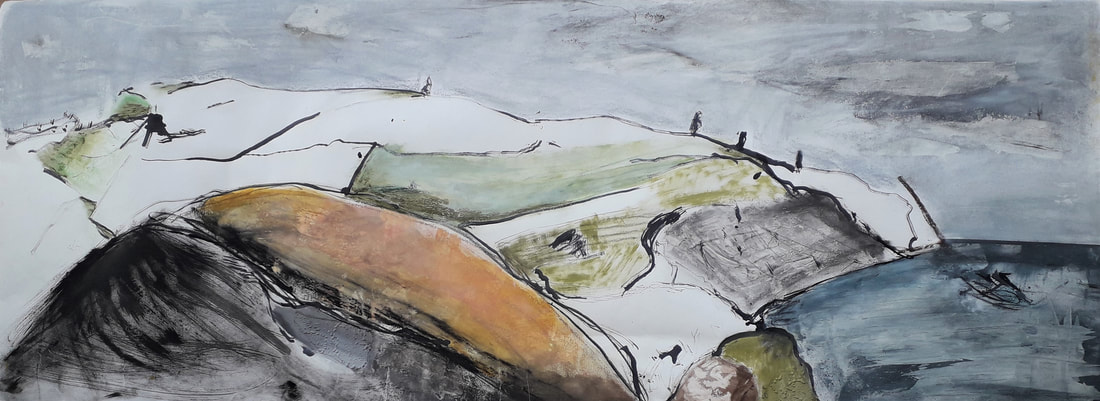 From Pendeen Lighthouse 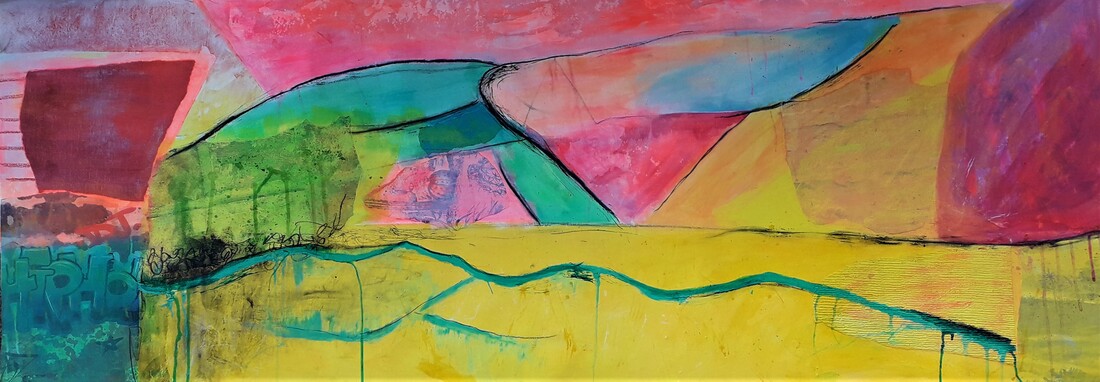 Neon Penwith 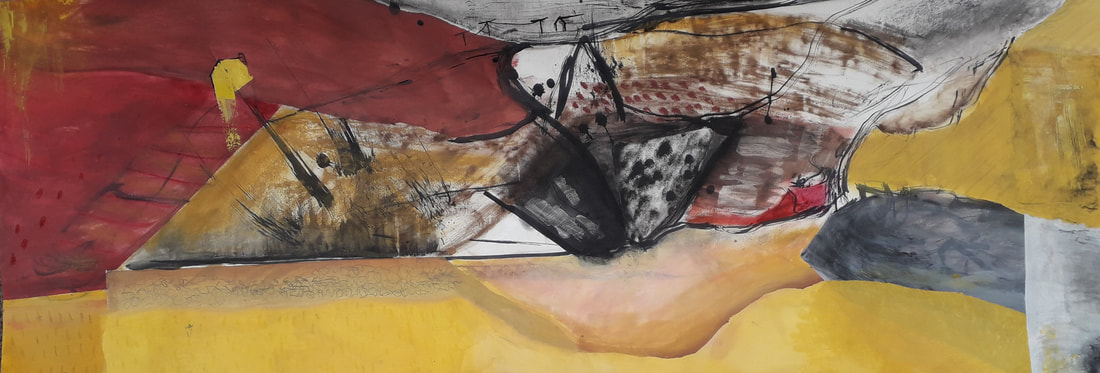 Earth Colours from St Just These mixed media works are rolled-up in my studio. I haven't looked into framing them as I don't have the wall space. I enjoyed making these pieces, two of them were partly-painted on location at Pendeen and in St Just. Although those places are close by, there is a difference in the colour palette. This is due to the mining of the area. I deliberately left some of the Pendeen lighthouse painting white, to bring more focus to other areas of the composition. The benefits of working large are:
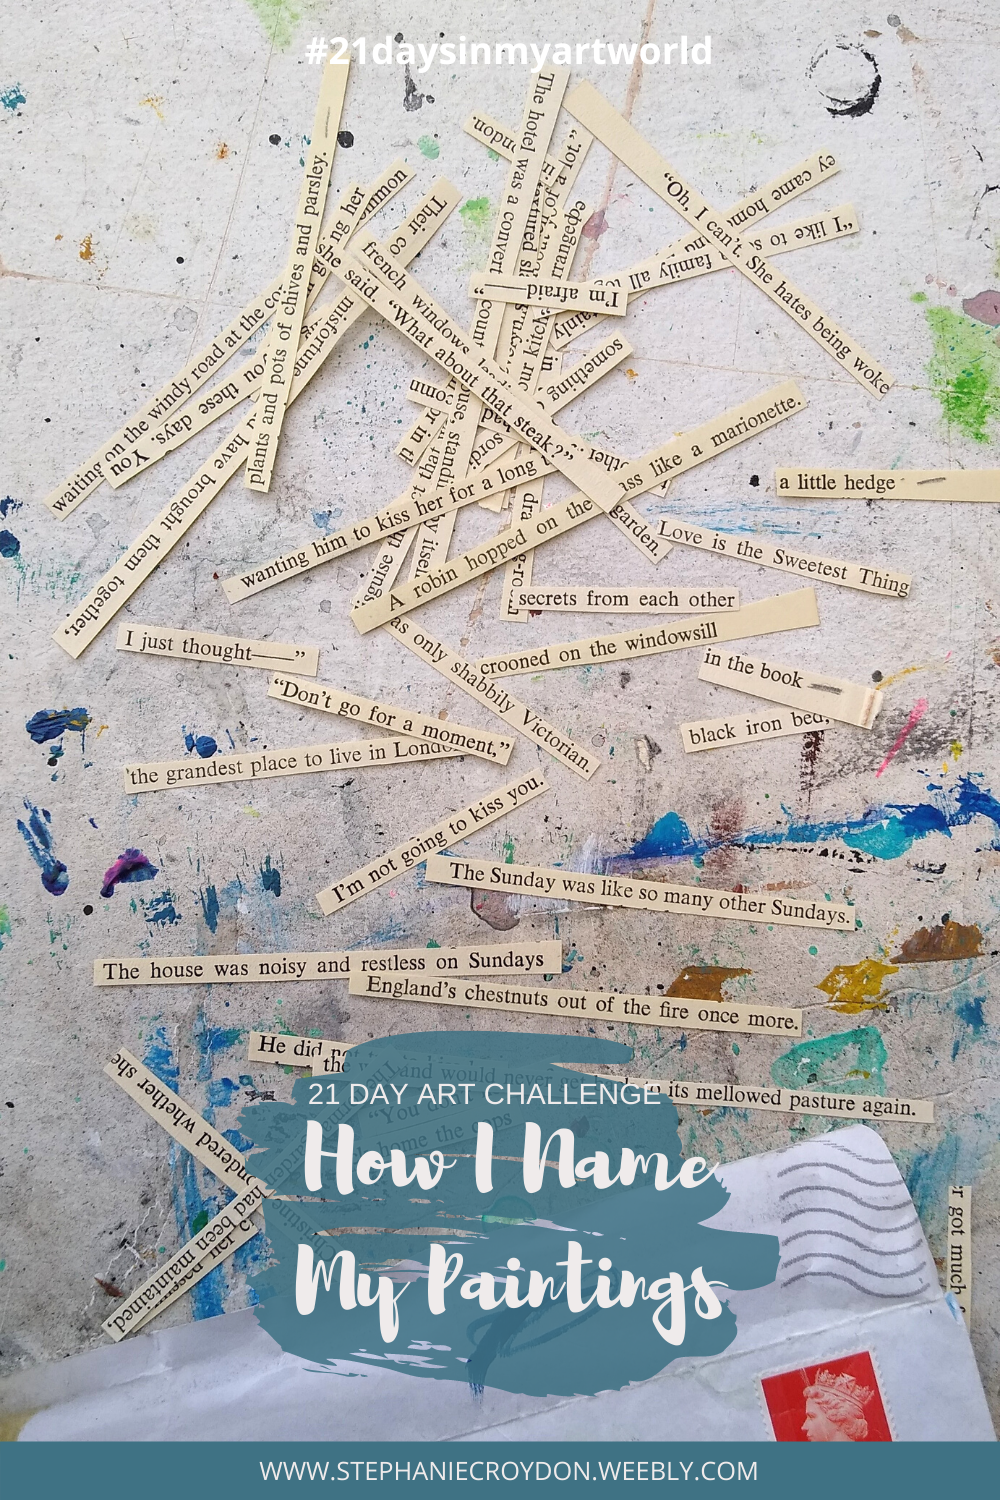 I'm not sure if other artists do this but...I (mostly) only name my paintings if they're going into a show! Unfortunately naming my work comes last, its a bit of an afterthought with some. I have used song lyrics, a poem, a feeling, something from a film, inspiration from a gallery or other place I have visited as my chosen name. I don't keep lists, (I now think I should), but I have an envelope of text I have cut out of an old book. I started cutting out the text and using it with a finished painting to create the narrative and its name. I still have lots of the cut-outs as they seemed too good not to use one day. However, my work is process-led, I have never chosen a cut-out sentence and made a piece of work to fit. Often, 'my practice pieces' come out as the best ones. The approach to my work and the process means I can't replicate the marks exactly.
Copying my practice piece tends to lose its 'essence'; it becomes stiff and flat. These practice pieces are usually in my sketchbook and that's where they stay. It becomes a library of time and skill development. However, recently I have been sharing these on my Instagram account. I have been naming my sketchbook work after the place of inspiration. The painting 'December Morning, Tehidy' was painted from a photograph I took one morning of a vivid sunrise through the bare-branched trees. The piece, 'Over the Hedgerow' is a viewpoint I often stop at on my countryside walk, over the hedgerow I often see a rabbit in the field and lots of wildlife around the Cornish hedge where I stand. Both of these are still in my sketchbook. See more of my images with narrative on the Krowji Residency page  The first pieces of work I sold were small commissions for friends and family just before I went to college. However, it wasn't until after graduating that I waited to sell from my studio.
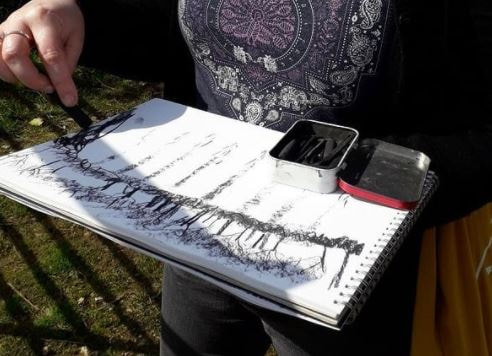
Open Studios in Cornwall is a twice-yearly event; a week in spring/summer and a weekend around Christmas. It's a brilliant way to discover new art, meet the creators and see where they work. The test was whether I would have buyers who were not friends and family. I set up an Etsy shop for artwork, a Spoonflower shop for my fabric and wallpaper designs and participated in Open studios where I had everything on display and it worked! I have also sold from galleries, private sales and art shops. Artists often go through stages of not knowing whether the process is right, working alone for long hours or when to stop and put down the tools. Feedback from my customers and photos of my work in situ is a reminder that it was worth sticking with it. I haven't sold on Etsy for a long time and I often debate whether to reopen my shop or upgrade and use my website. However, my Spoonflower shop is still open and hopefully, I can take part in more shows soon. Here is some feedback I have received: Arrived today, wonderful! I'm really happy with your work..so creative! Absolutely gorgeous - the photos show true colours, lovely detail, very pleased with my purchases. Beautiful piece of detailed, affordable art. Shipped on time and well packaged ...they had to be mine!! it's even more lovely in real life I couldn't stop thinking about it, I had to come back for it 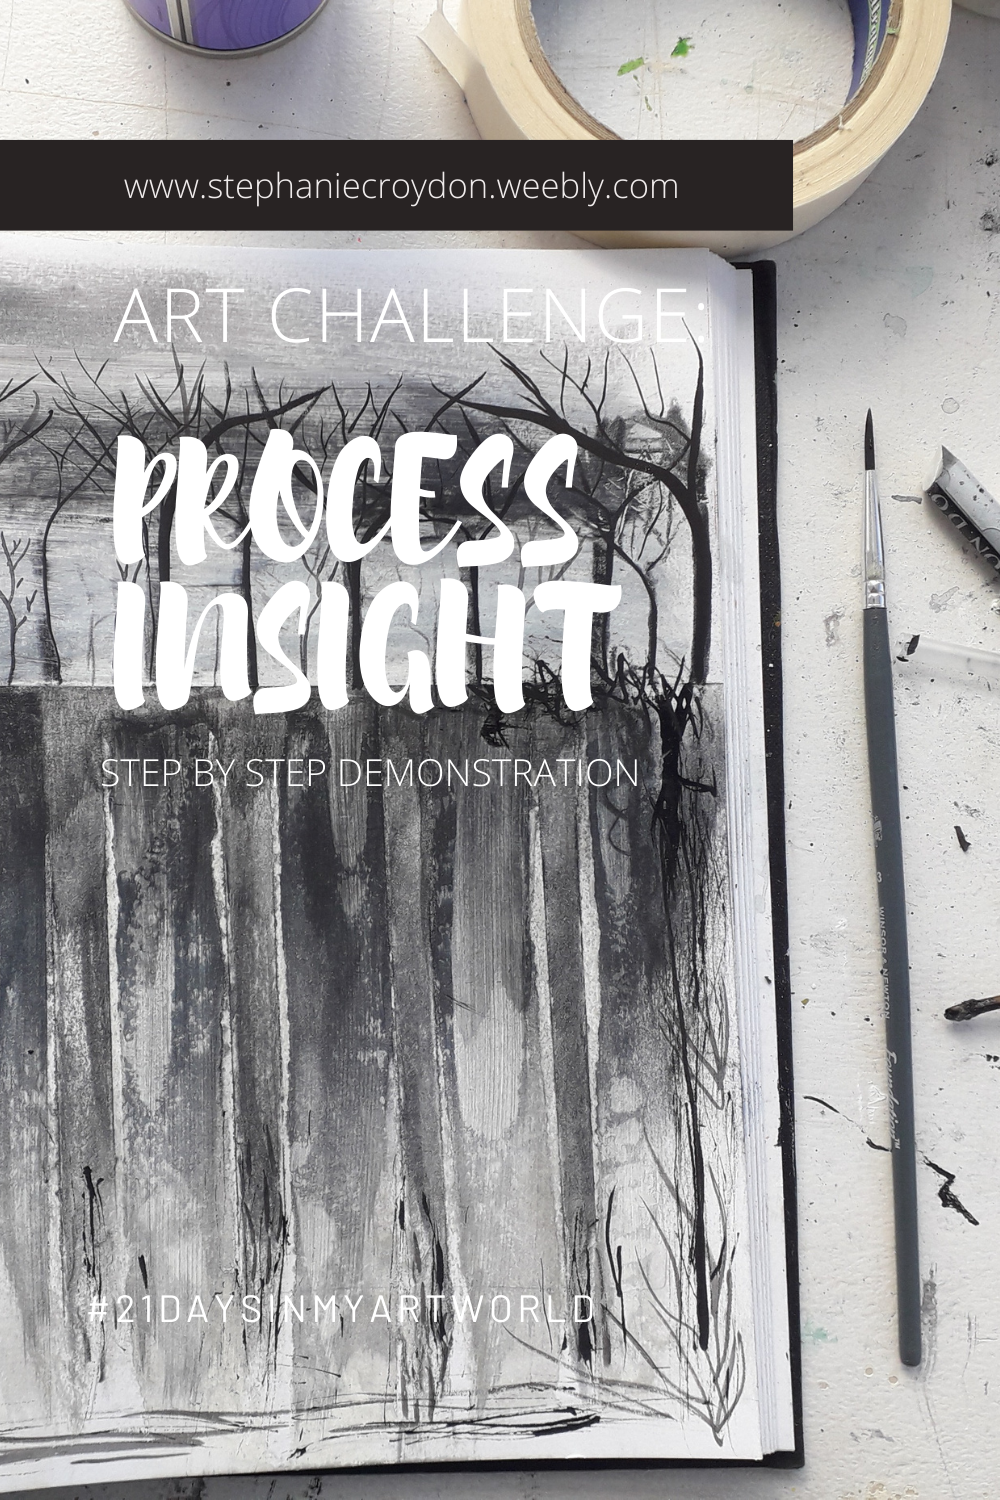 For this prompt; Process Insight, I have decided to show a step by step demonstration from my sketchbook. I took some materials out with me into a field nearby, I made some quick sketches and worked from them in my studio. I used charcoal in my initial drawings, for the final sketch I used chalk, charcoal, paint and ink. 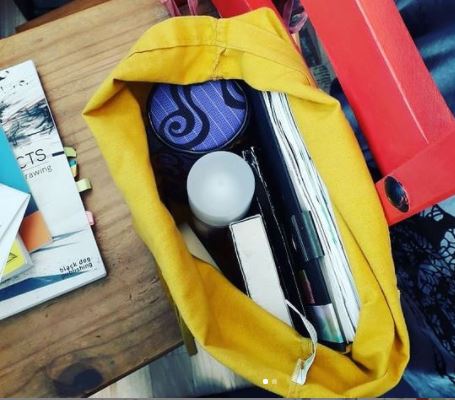 Packed art supplies I decided to sketch some trees at the top of a field. The field sloped upward. The field was framed by trees and hedges, apart from where I stood. I got down the basic composition, I didnt need every detail.
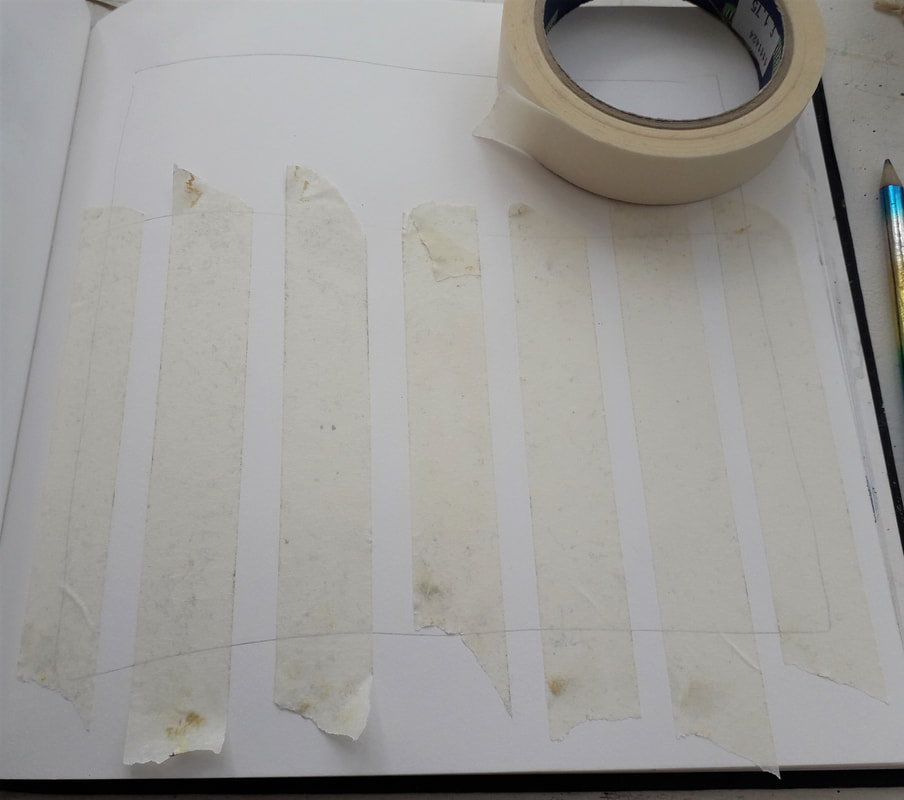
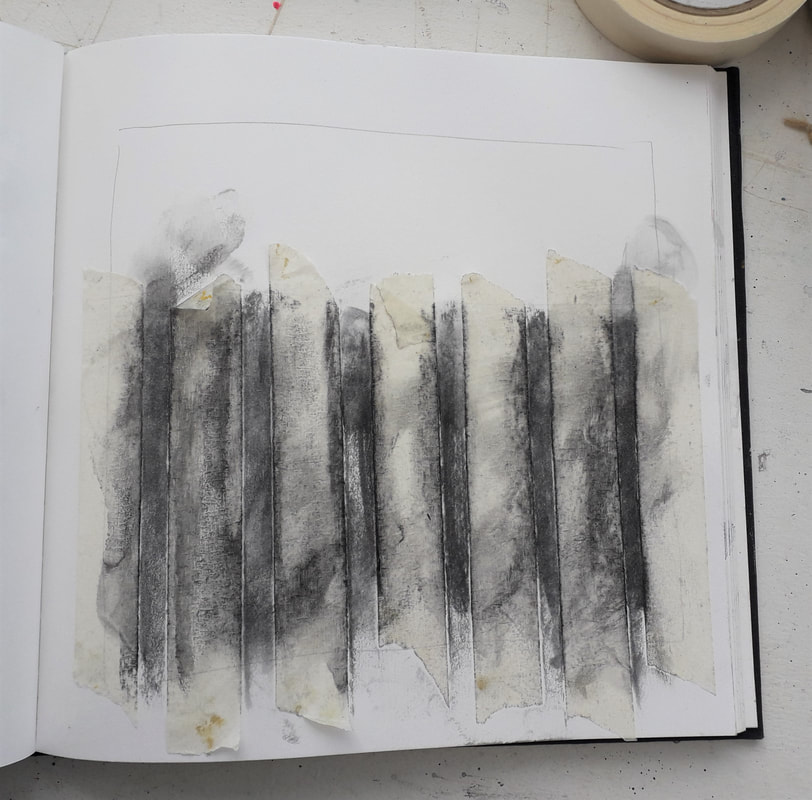
Back in the studio I chose to work in my hardback sketchbook which had thicker paper; ideal for mixed media work. This is a Seawhite sketchbook which are really good value and have a lot of pages, they are available in different sizes. I had initially packed this sketchbook but it was too heavy. 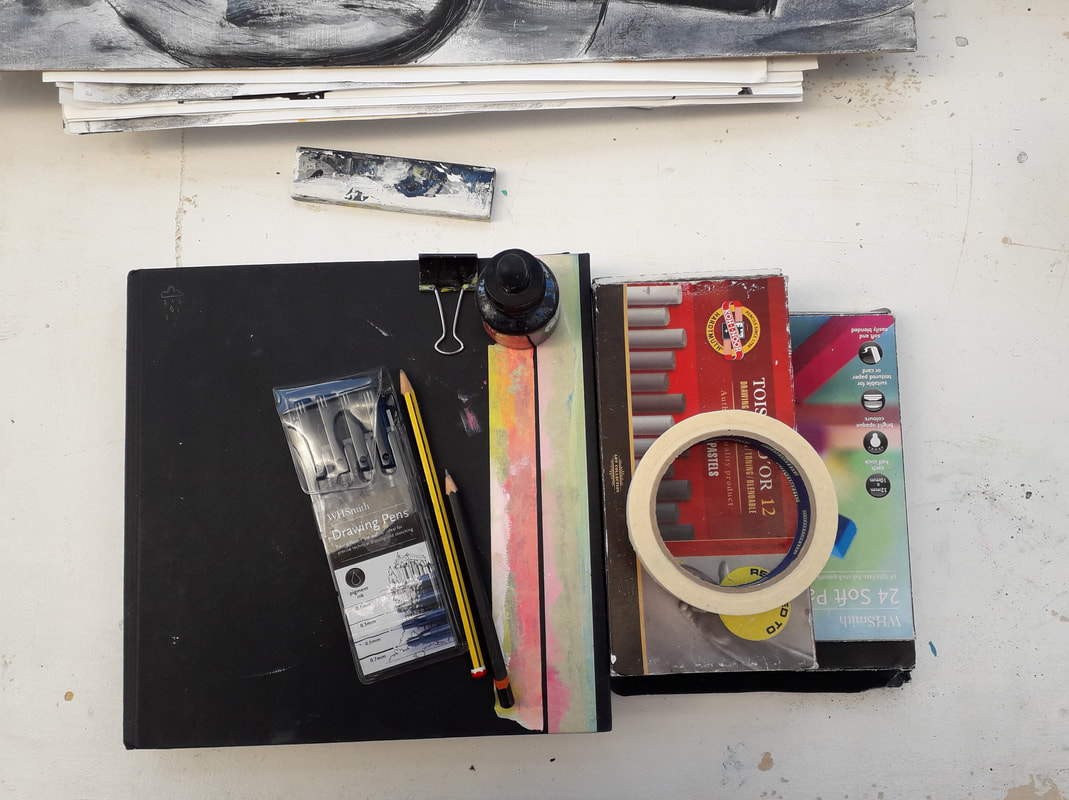 To start with I drew out a pencil border and applied masking tape strips for the ploughed field. I then roughly went over these with charcoal. At this point I was putting down the first layers which didnt need to be neat as they would be worked over again.
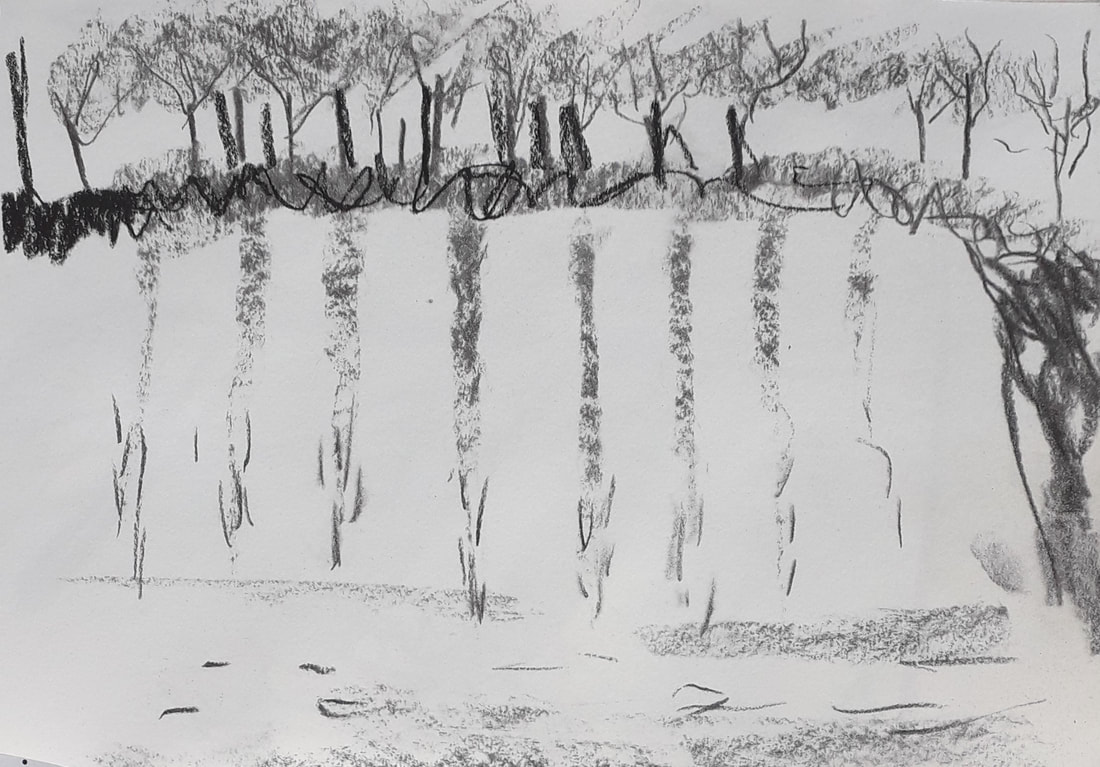
I removed the tape and fixed the charcoal with spray, it didnt matter that some of the charcoal had got under the tape. Once dry, I covered the black stripes with more masking tape to scrape a layer of white paint over the surface. I left some of the paper untouched and when dry went over with charcoal again making this the third applied layer. I built up the layers with compressed charcoal, this goes on much darker, then I used an old teatowel to reveal some of the layers underneath. The white paint acts as a resist. 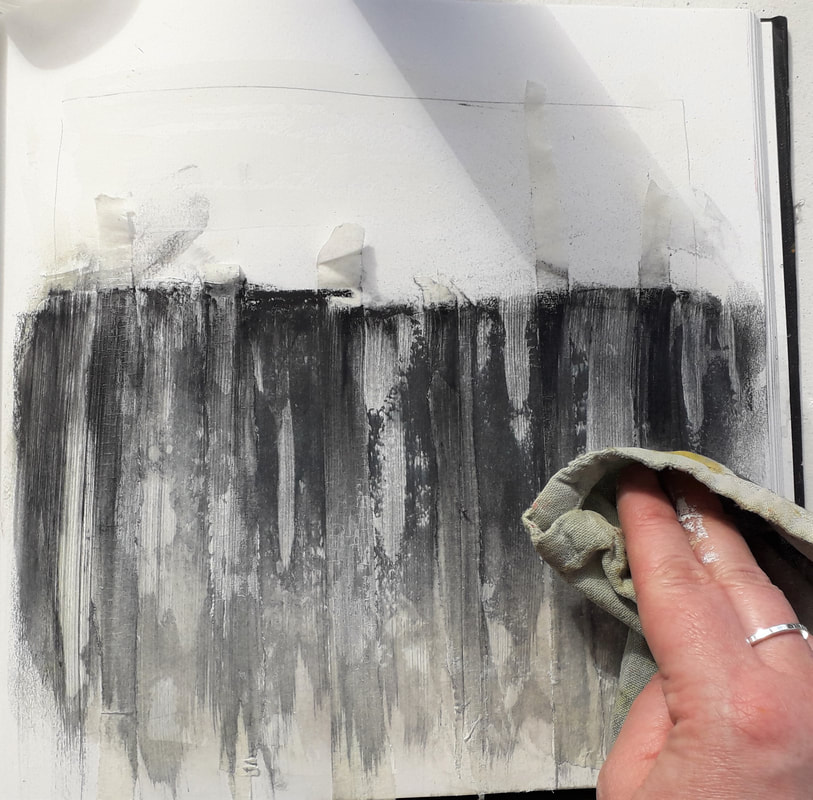 I decided to have a defining edge to the top of my field. This was to break up the composition, a sharp edge amongst the chaos. I added more tape and blended more charcoal. The next step was to put tape on again to seperate the 'field' from the 'sky'. Then I applied more chalk and pastel without loosing the crisp line. So far I had only used scrapers, a teatowel and my hands to build the layers. The next step was to loosly add detail to the edges with charcoal and ink and start adding in the trees. The ink was applied using natural found materials on my walk to the field, I wanted a scratchy finish rather than perfect lines. However, when it came to the tree detail ( second image) this wasnt working right. I was able to wipe away the detail I had added in for the tree tops as it was ink and charcoal. I wasnt too precious about this, afterall this was only my sketchbook. I liked the marks left behind and I decided to leave this in to add some movement. A happy accident. 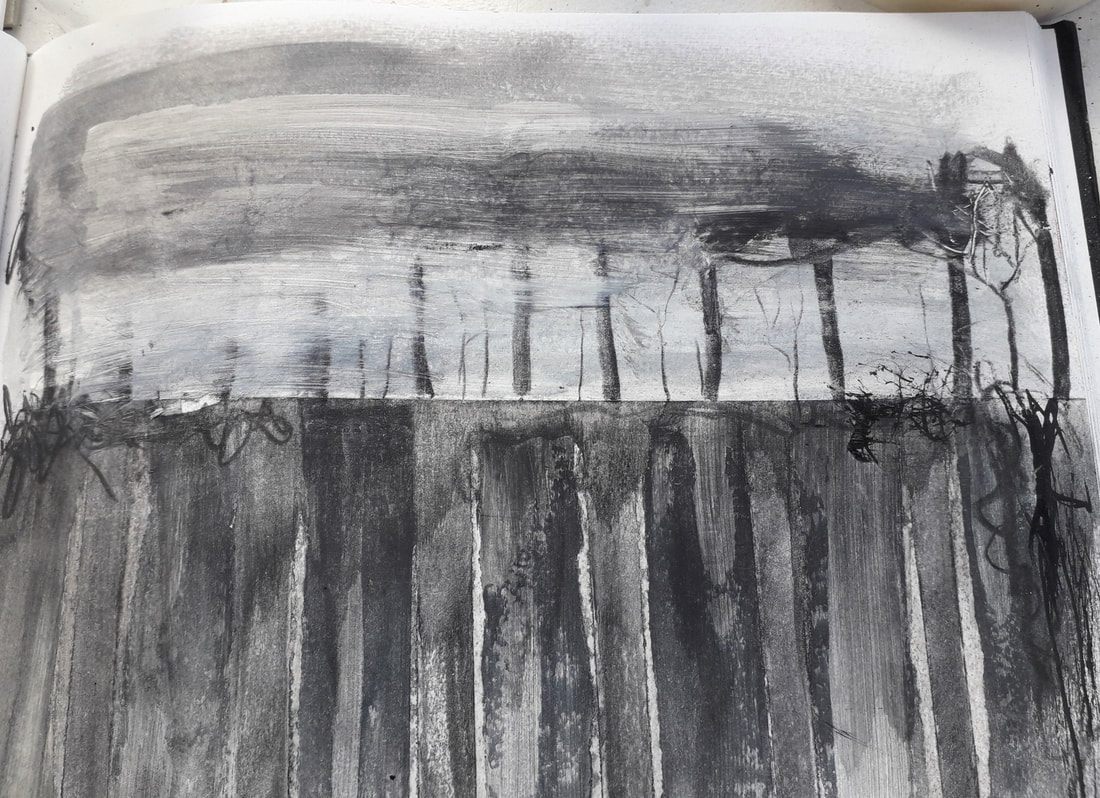 It was only at this point I reached for a fine brush to create the trees. 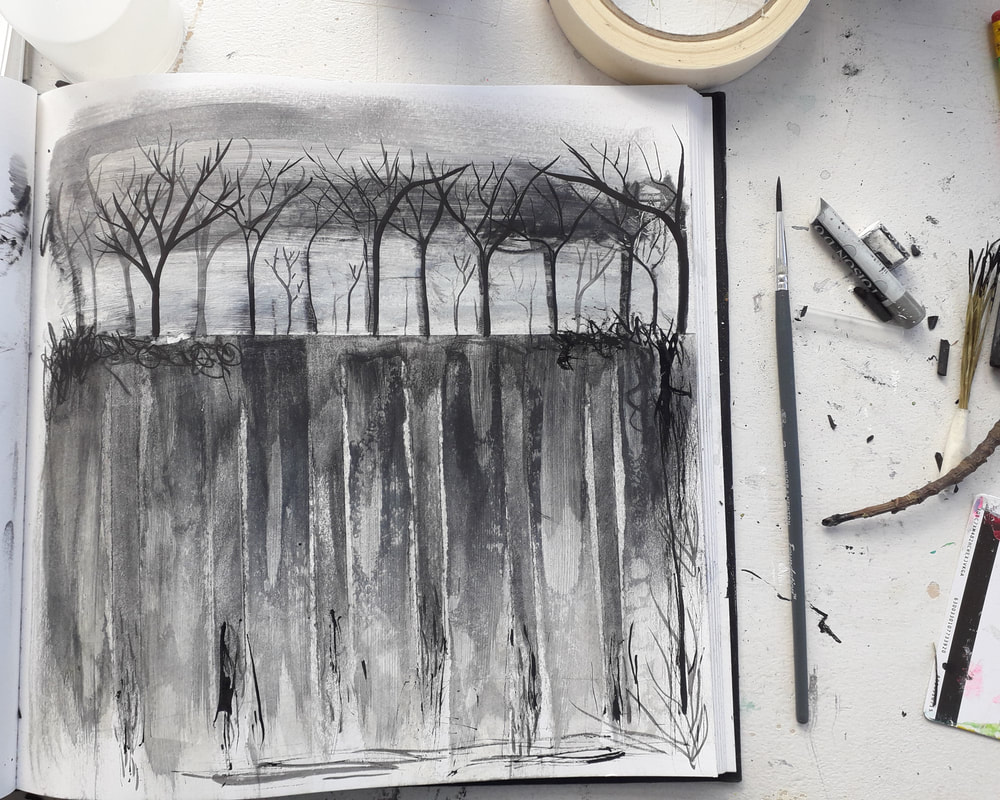 Finished 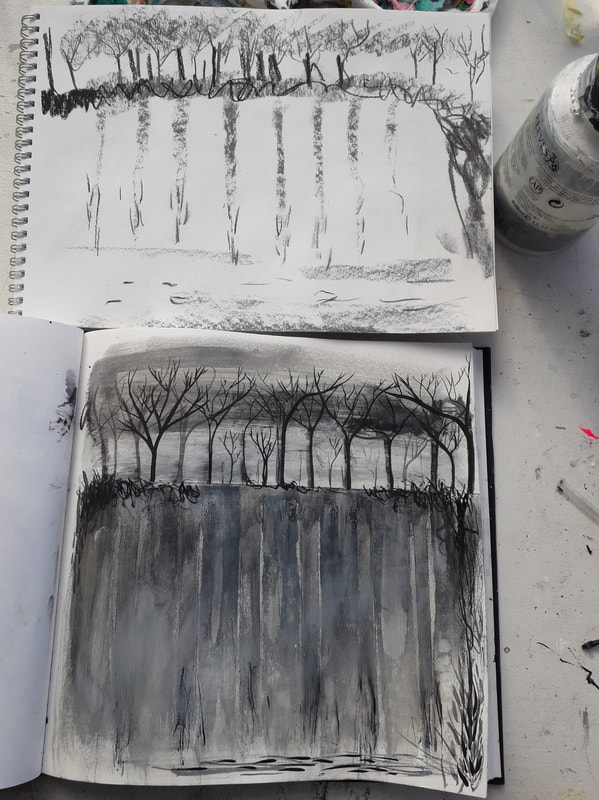 Original sketch with final piece  My reoccurring motif in my work is the tree. As a child, I always loved playing in the woods, as a teen I would hang around the woods with friends, now I enjoy having long walks and nature spotting with my family through the woods. It seems only natural that trees frequently appear in my landscape work. I tend to paint my trees in the distant and without foliage; silhouetted in the landscape, breaking up areas, adding to the composition. I should do more studies adding more detail and making them more of a feature of the work as part of progressing my creative skills. Here are some trees I have created: 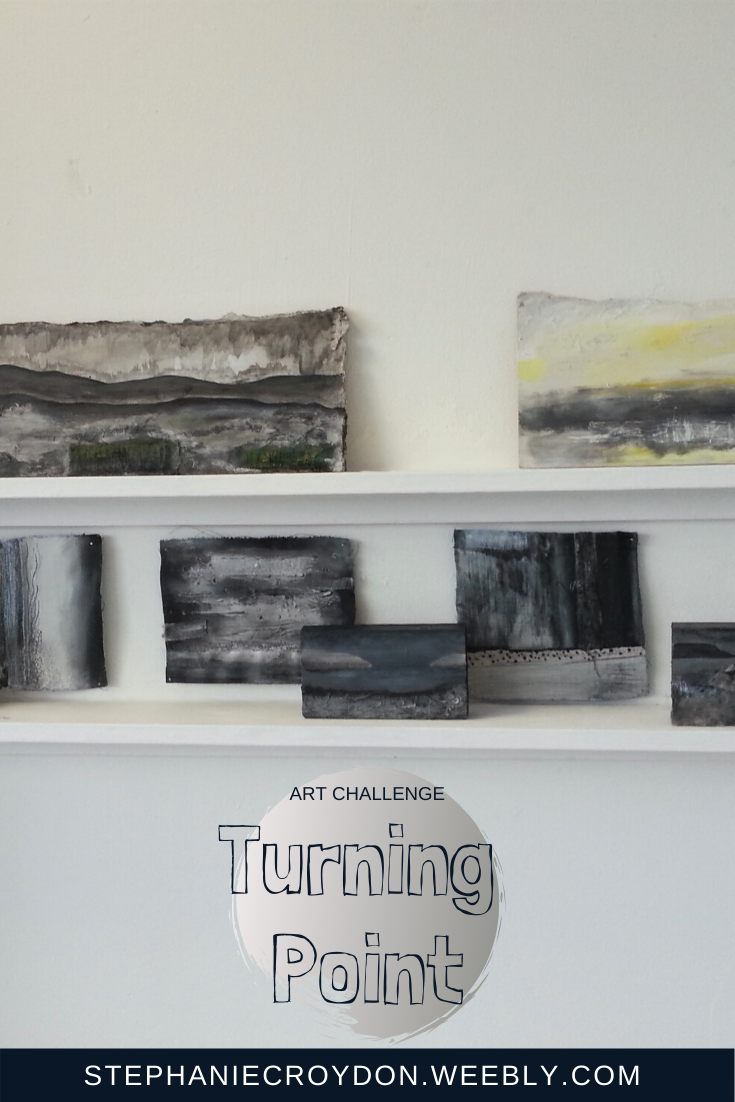 The turning point for me was deciding to study art at college and think more seriously about developing a practice and thinking about a creative career.
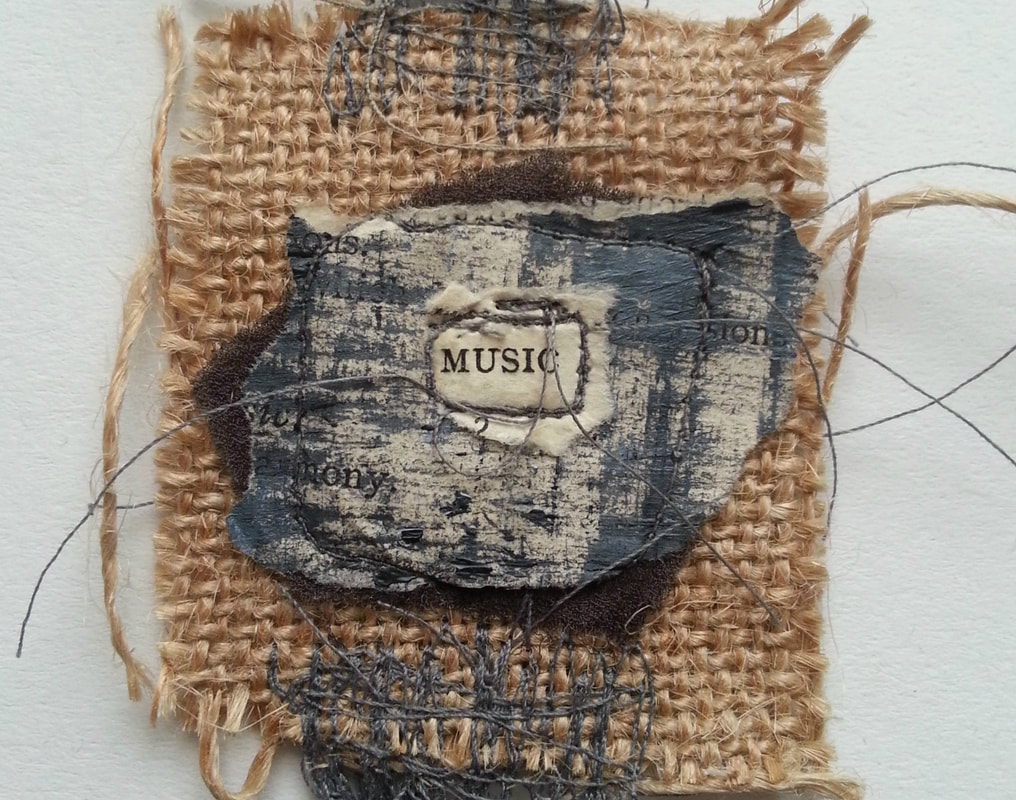
Art was always my hobby, and after having babies, I didn't have much time for it whilst also struggling to find work. A friend encouraged me to look at the end of year show she was involved with, I decided that it was something I needed to do. I had nothing to lose. I'm not going to go too much into detail about that turning point as I covered most of it in the previous blog post 'Meet the Maker'. You don't need qualifications to make and sell art because that is the path many others choose. However, I don't think I would have had the same opportunities or met certain people without college. I am still learning all the time; refining my process, taking on a mentoring program, watching online videos, anyone can do that. If you want to take your art seriously, have the space to be creative and set up a shop I encourage you to go for it. Your experience will be different to other peoples, and you may discover your turning point along the way. **I skipped day 10 'Artist Selfie', You can find me on my About page 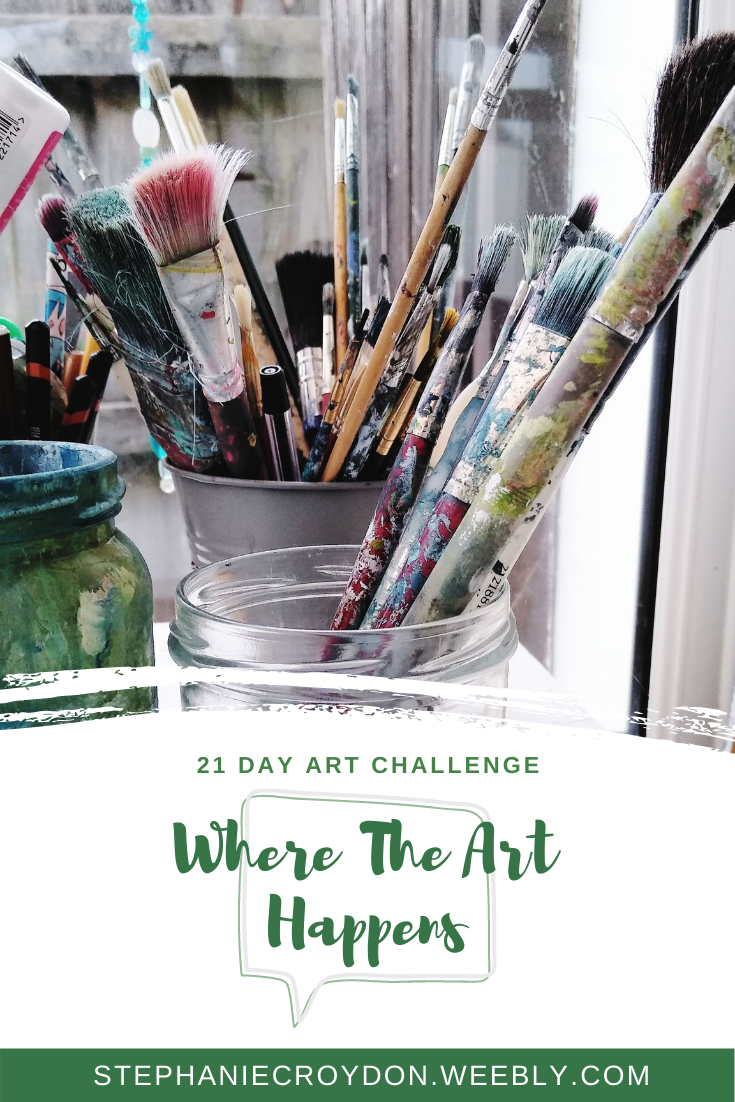 I wasn't sure about writing this post as I have shown my studio space a lot on Instagram already. My studio has changed over time, I have covered this in another post called Create Your Own Studio; How To Work With A Small Space & Budget. Head over to the post already written to see some work in situ and my old Krowji studio space. Here are some photographs I took last week after a good tidy up (it gets quite damp in here)  If you have looked at my Pinterest page, you will see I’m inspired by too much! Often inspiration comes from a place, a song, written work, a feeling, not always something visible which is why sometimes refer to the quote 'to make visual how the world touches us’ by Merleau-Ponty, 1993. I used this to inform my Ba (Hons) work. However, I will narrow down a few: Artists and galleries Here is where I can refer back to the 'favourite books' blog post. Majority of my art books are about landscape art and I also enjoy looking at work by abstract artists and textile artists, especially sketchbooks. I follow mostly artists on Instagram, I love to see their process and keep up with galleries. A local library is also a good place for artist books. However, I also explore art outside of my niche and this is where I love my trips to London. Cornwall is great, but it’s good to see something more than the coastal art and the tourist market. I don’t usually explore politics much in my artwork however, in the past; I have written for the Punky Moms Zine and made work referencing the environment and wellbeing. I also have books on feminist artists and body modification and pinups. Walking Living in Cornwall it’s not hard to find somewhere beautiful to walk, although I live in a town, I’m only a couple of miles from the beach and there is countryside just down the road. I often take photos to work from or sketch somewhere outside. Getting out in nature is proven to be good for wellbeing, I know I always feel better after a long walk (or run) and I love to go nature spotting with my family. 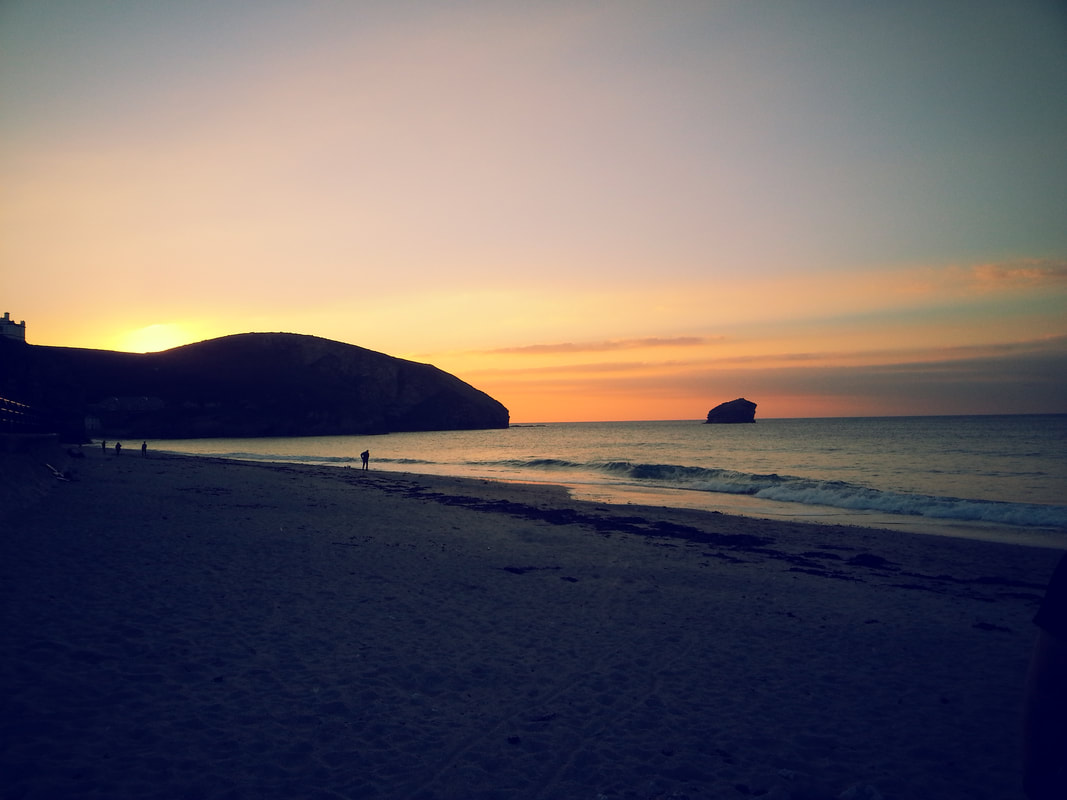 My local beach Music and books I love music. I listen to it when cleaning, getting ready in the morning, in the studio, commuting to work, writing blog posts etc. One of my projects at University was to produce work in response to a book; the book I had was about music. I chose a particular instrumental piece I loved; it was challenging to make something from an inspiration that wasn’t visible. In the past, I have also made small landscape pieces and added cut out text from books to create the narrative. |
Archives
February 2021
Categories
All
 My Spoonflower Shop
|
 RSS Feed
